ESP32 + Rust: Scenario-Based LED Controller CLI
🔧 Introduction
In previous projects, we built a simple LED control for the ESP32 using Rust — turning lights on and off through UART commands.
It was a great starting point to explore embedded development with Rust and understand how hardware and software interact.
This time, we’re taking a significant step forward — both in code and electronics.
We’re building a fully functional command-line (CLI) application with Rust that communicates with the ESP32 to control LEDs through scenario-based lighting logic.
Unlike before, where we controlled just a single LED, this project expands the electrical side as well — we now work with three LEDs, introducing more complex patterns and interactions.
You’ll be able to:
- Send commands directly from your PC to the ESP32;
- Run predefined lighting scenarios;
- Create and manage your own custom lighting scenarios;
This project not only showcases practical embedded Rust development but also brings ESP32 setup closer to a small, smart lighting system — all controlled from your terminal.
The full code is available on GitHub, while here we’ll focus on architecture, main components, and selected snippets.
⚙️ Project Overview
The application is written in asynchronous Rust using Tokio runtime and organized into clear modules:
src/
├── cli.rs # Command-line interface definitions (clap)
├── logging.rs # Tracing + file logging setup
├── serial.rs # Async serial communication with ESP32
├── scenarios/ # Scenario logic (builtin + custom)
│ ├── mod.rs
│ └── builtin.rs
├── scheduler.rs # (not shown) Scenario scheduling logic
├── utils.rs # Helper for reading YAML configs
└── main.rs # Entry point
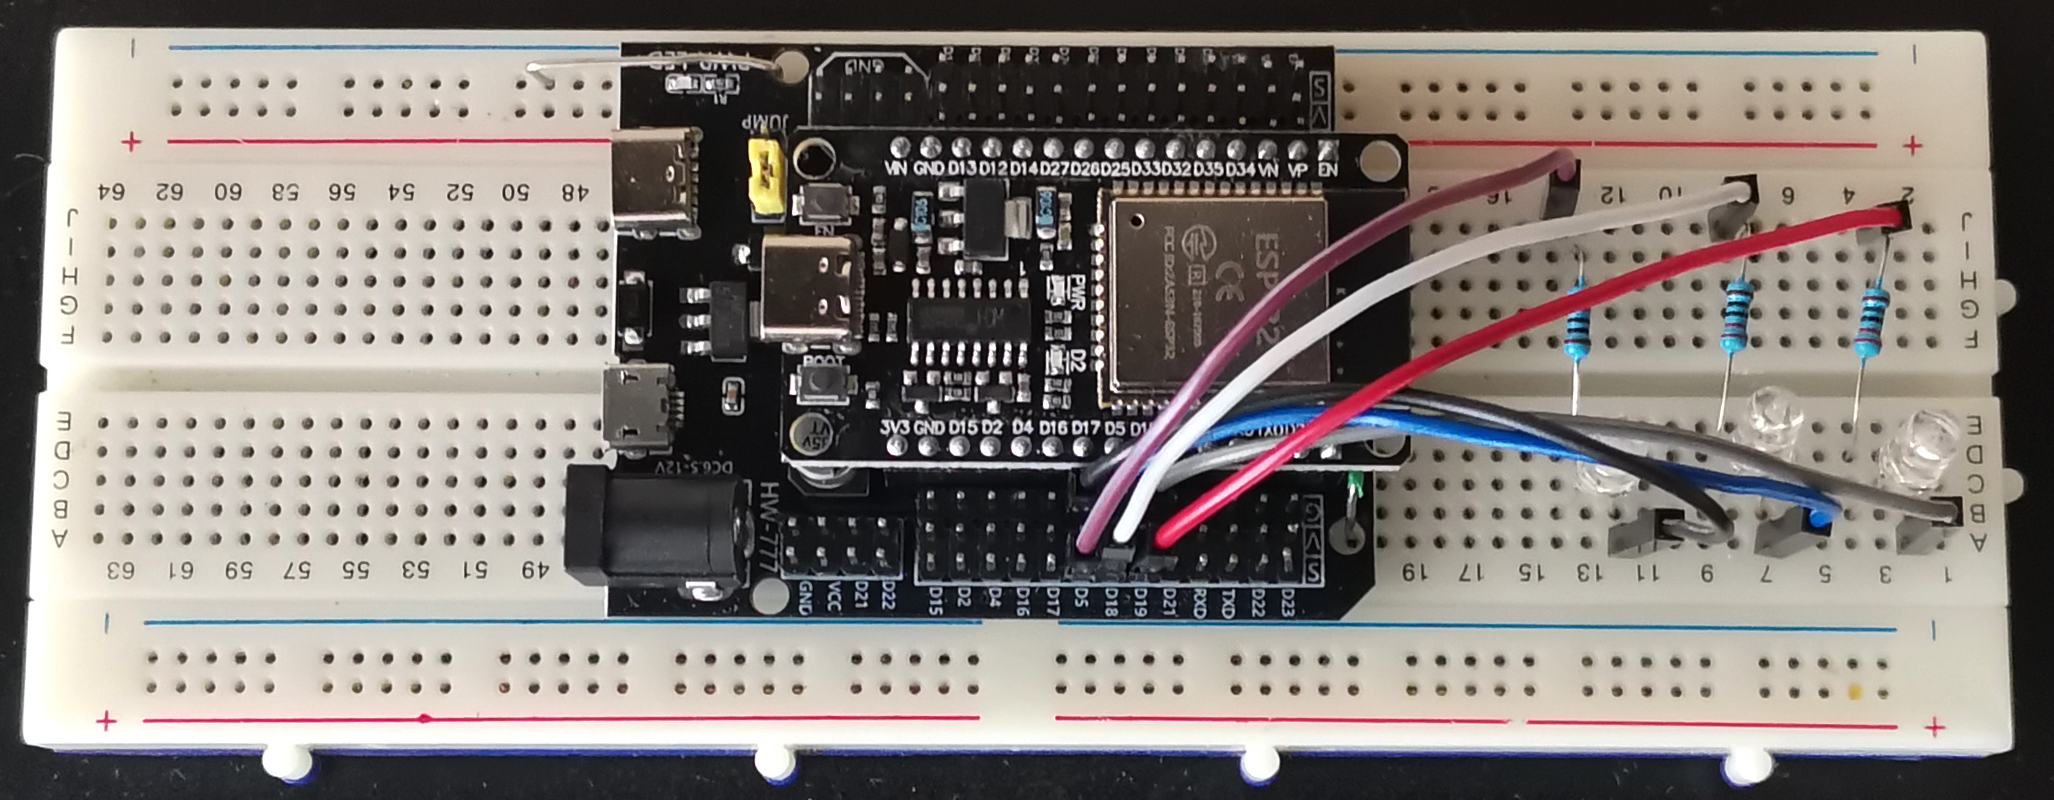
⚡ Electrical Part
Each LED must be connected through a current-limiting resistor (typically 220–330 Ω) to prevent damage to both the LED and the ESP32 pin.
The schematic is simple but essential for reliable operation:
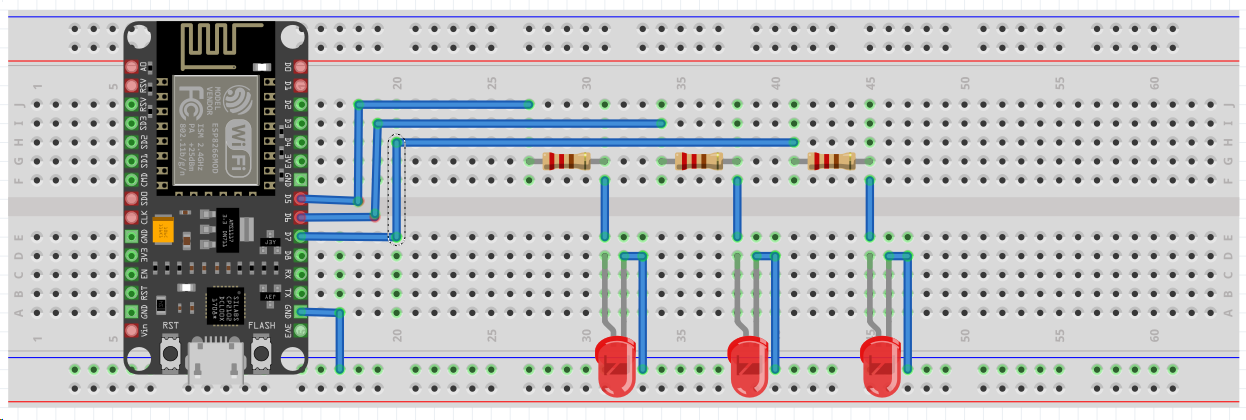
In my case I connect
- 1 LED → GPIO D5 (through 220 Ω resistor)
- 2 LED → GPIO D18 (through 220 Ω resistor)
- 3 LED → GPIO D19 (through 220 Ω resistor)
🧭 Command-Line Interface (CLI)
We use the clap crate to define commands and subcommands.
Each command is designed for specific control over rooms, scenarios, and schedules.
Example:
The CLI builder in cli.rs defines everything:
new
.version
.about
.arg
.arg
.subcommand
This gives us a convenient way to control lights or manage automation directly from the terminal.
🔌 Serial Communication Layer
The heart of communication with ESP32 lies in serial.rs.
We use tokio-serial for asynchronous I/O and continuously read device responses in a background task.
Key functionality:
pub async
And a background reader:
This allows us to send simple UART commands like 11 (turn ON room 1) or 30 (turn OFF room 3), while still listening for device feedback.
🎭 Scenario System
The Scenario Manager organizes both built-in and custom YAML-defined lighting scenarios.
Each scenario is a sequence of commands with optional delays.
Example of built-in scenario (from builtin.rs):
Scenario
Running it from CLI:
Internally, the executor iterates over the steps asynchronously:
for in scenario.commands.iter.enumerate
You can also load your own scenarios from YAML files stored in /example.
🧩 Configuration and Custom Scenarios
User-defined scenarios are simple YAML files:
name: "party"
description: "Colorful blinking lights"
delay_between_commands: 500
commands:
  - room: "1"
    action: "on"
  - room: "2"
    action: "off"
  - room: "3"
    action: "on"
Load them with:
The app automatically copies it into your home directory (~/.esp32_scenarios) for persistence.
🪵 Logging
Logging is handled by tracing with both console and file outputs:
let = non_blocking;
let env = try_from_default_env.unwrap_or_else;
registry
.with
.with
.with
.try_init
.ok;
All logs are written into logs/LED_controller.log, including serial communication traces and scenario execution steps.
🧠 Main Application Flow
Let’s look at the simplified structure of main.rs:
async
This single binary provides a complete end-to-end solution — from low-level serial communication to scenario scheduling.
🧾 Summary
This project demonstrates how Rust can be used for practical IoT automation, offering both reliability and structure.
We combined:
- ✅ Async serial communication with ESP32
- ✅ Scenario-based lighting control
- ✅ YAML-based configuration and scheduling
- ✅ Structured CLI with clap
- ✅ Logging and persistent settings
It’s an extensible foundation for simple home automation or testing workflow based on UART communication.
👉 Full Source Code
You can find the complete code with all modules and configuration examples on GitHub:
https://github.com/AnakenRalf/esp32-rust-led-scenario-cli
🎥 YouTube demo
This visual walkthrough helps you better understand how software commands translate into real electrical behavior — turning abstract Rust code into a tangible, dynamic lighting system.
👉 Watch the full process and demo here:
YouTube link
Help in setup esp-idf toolchain
Some time-saving tips for configuration esp-idf toolchain in [step-by-step guide on Patreon]
Stay tuned — Rust + IoT is just getting started.